
Create a token
six steps, on devnet.
The Build section walks you through six questions and ends with an unsigned transaction that you sign where your keys are. Do this on devnet first. Most choices here are written into the mint for good.
01Before you start
- The cluster chip in the header says DEVNET.
- Your own devnet endpoint is saved (Installation). Creating a mint works on the public endpoint; the console's holder list does not.
- A mint address from
solana-keygenand a funded fee payer (how).
The left rail shows the six steps (Job, Identity, Extensions, Authorities, Consequences, Review). What you are building on the right keeps a live summary: decimals, account bytes, extensions, who can still act, and what becomes irreversible. On a phone it opens from the receipt icon.
02Step 1: What is this token for?
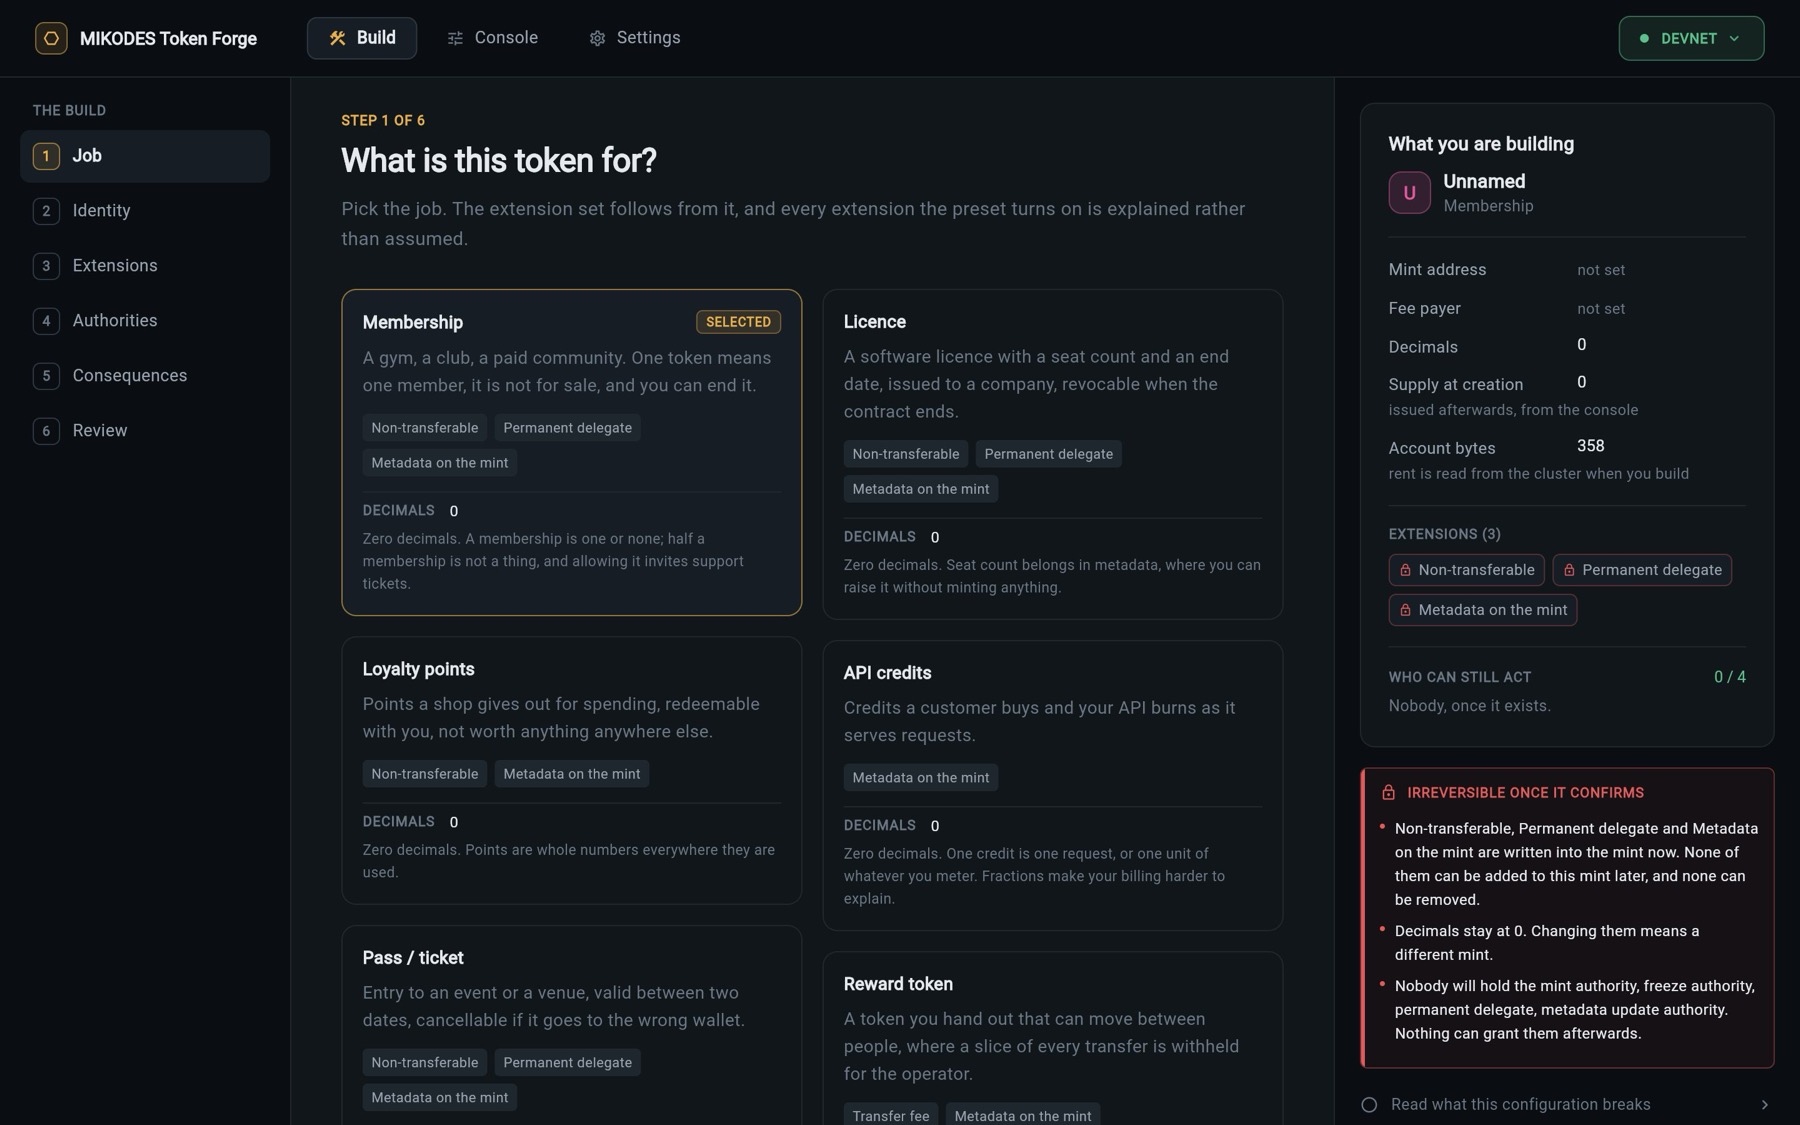
Pick a job. Each preset sets decimals, extensions and which authorities you keep. You can change everything afterwards; every change away from the preset is named with its consequence on step 3.
| Preset | Extensions | Decimals |
|---|---|---|
| Membership | Non-transferable, Permanent delegate, Metadata | 0 |
| Licence | Non-transferable, Permanent delegate, Metadata | 0 |
| Loyalty points | Non-transferable, Metadata | 0 |
| API credits | Metadata | 0 |
| Pass / ticket | Non-transferable, Permanent delegate, Metadata | 0 |
| Reward token | Transfer fee (1%, capped at 1,000 tokens), Metadata | 6 |
| Whitelist token | Default account state: frozen, Metadata | 0 |
Source: lib/core/token2022/presets.dart. Which cards appear is set in Settings → Jobs your team can pick.
03Step 2: What is it called?
- Name (up to 128 bytes) and Symbol (up to 32 bytes). Both required.
- Metadata URI (up to 256 bytes): a link to your JSON with image and description, hosted by you.
- Decimals, 0 to 9. Fixed forever.
- Custom fields such as
valid-to,valid-from,seatsandtier, written onto the mint.
All of these need the Metadata on the mint extension, which every preset turns on. Custom fields are the forge's own convention; other tools will not understand them unless you teach them.
04Step 3: What can it do?
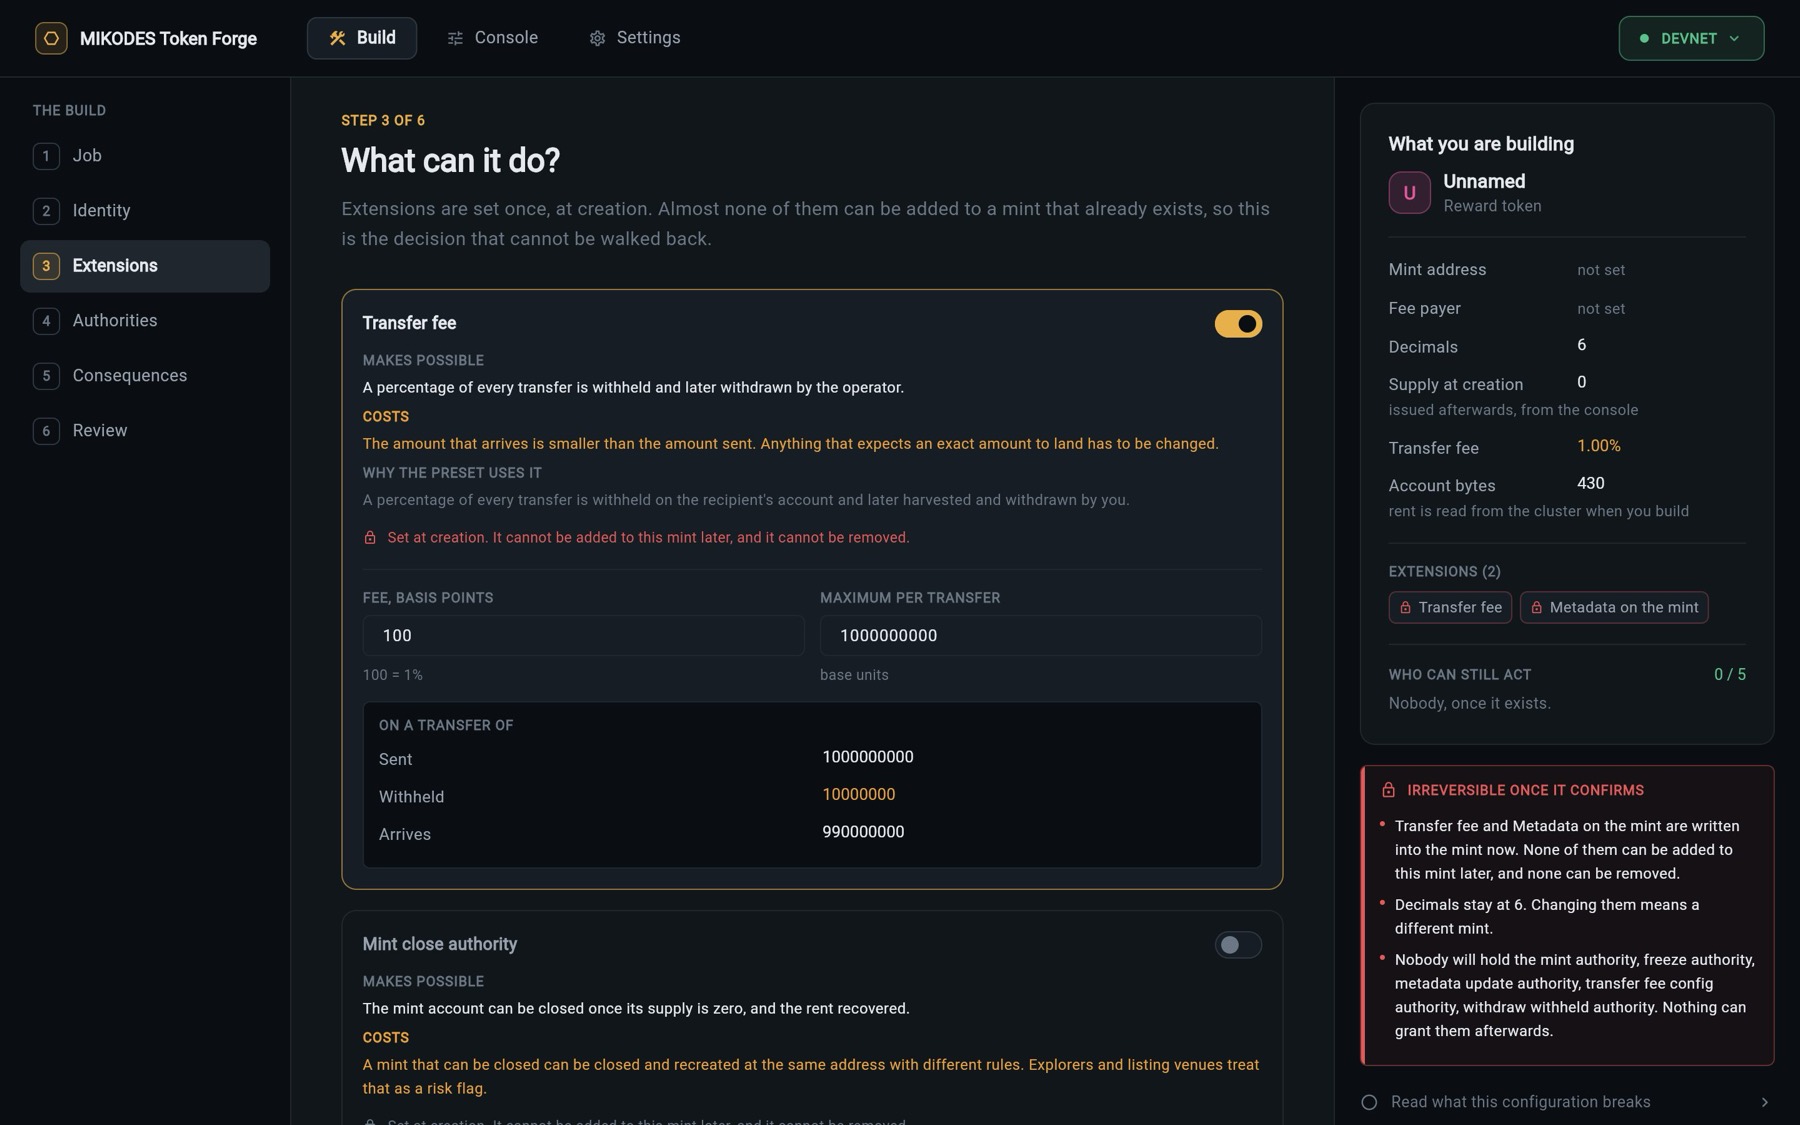
Eight extension tiles. Each shows what it makes possible, what it costs, and whether it can be changed later. Almost none can be added or removed after the mint exists.
| Tile | In one line |
|---|---|
| Transfer fee | A share of every transfer is withheld for you. Settings: Fee, basis points (100 = 1%) and Maximum per transfer in base units. |
| Mint close authority | The mint can be closed at zero supply. Explorers treat this as a risk flag. |
| Default account state: frozen | Every new holder starts frozen until you thaw them: an on-chain whitelist. |
| Non-transferable | Can never move between wallets. Not sellable, not poolable. |
| Interest bearing (display only) | Wallets display a growing balance. Nothing is created; the real balance never changes. |
| Permanent delegate | One address can take the token back from anyone. On a non-transferable mint it can only burn. |
| Transfer hook | Your program runs on every transfer. You write, deploy and audit it; the forge checks the address is an executable program before building. |
| Metadata on the mint | Name, symbol, URI and custom fields on the mint itself. |
Turning a tile off also clears its settings. Full matrix: DOCS/COMPATIBILITY.md in the package.
05Step 4: Who holds the irreversible powers?
One address per authority your extensions make available: mint, freeze, permanent delegate, metadata update, transfer fee config, withdraw withheld, close, interest rate, transfer hook. Each explains what it permits, what happens if it is lost, what happens if you keep it, and whether it can be given up later.
- A preset fills the authorities it keeps with your own address. Use a multisig address for anything that matters.
- The forge refuses to build a mint with a transfer fee and no withdraw authority: those fees would be locked forever.
- Renouncing is not done here. It is a later transaction in the console.
Details for every authority: DOCS/AUTHORITIES.md in the package.
06Step 5: What this will break
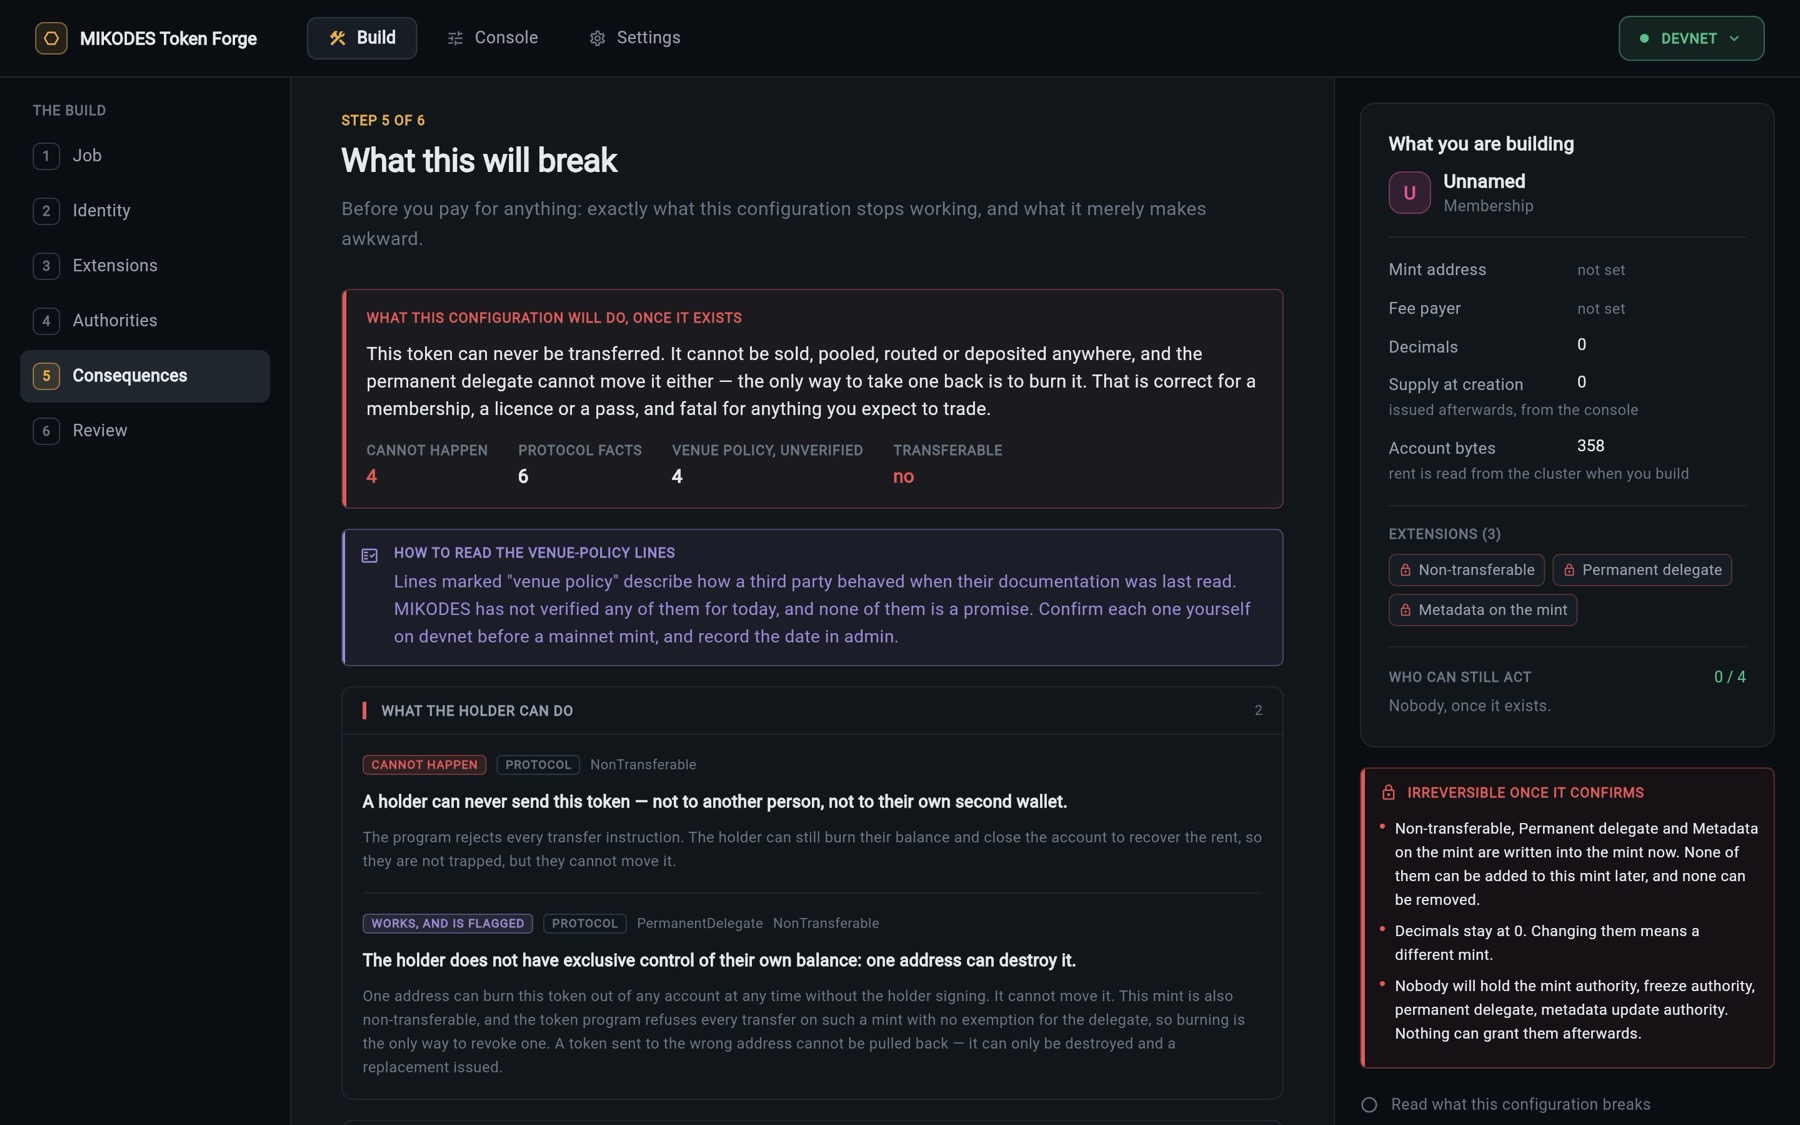
The consequences report, across nine surfaces: what the holder can do, the amount that arrives, AMM listing, aggregator routing, exchange deposits, wallets, automated issuance, explorers and listing reviews, and what you have to run.
- Protocol lines are enforced by the Token-2022 program.
- Venue policy lines describe how third parties behave. MIKODES has not verified them for your date. Check them yourself on devnet and record what you find in the venue-check register.
Press I have read what this breaks. Building is locked until you do. If you then change the preset, an extension, an authority or the cluster, the tick clears and you read it again.
07Step 6: Review and build
- Fee payerThe address that pays rent and the network fee. Read its balance checks it on the selected cluster.
- Mint addressThe public key of the keypair you generated. It must differ from the fee payer.
- Read the numbered instruction listIt is built from the same call that builds the transaction, so it cannot drift from what you sign. What this costs shows the account size and the rent read from the cluster, never a guess.
- Forge this tokenThe forge reads rent and a recent blockhash, builds the transaction and opens the handoff screen. If something is wrong, Show me what to fix lists it.
08Sign, submit, record
The handoff screen shows the Unsigned transaction (base64, empty signature slots), who has to sign, and the Mint configuration as JSON.
- SimulateOptional on devnet, required on mainnet: a mainnet transaction is not offered for signing until the simulation succeeds.
- Sign where your keys areA multisig's transaction builder, a signing script you control, or a wallet that can sign a raw transaction. For a new mint, the fee payer and the mint keypair both sign (and the mint authority, if it is a different address). Check that your signer shows the same instructions as the list.
- Submit itYour signer or script sends it to the cluster.
- Paste the signature backInto Transaction signature, add a Reason, press Verify and record. The forge looks it up on chain and writes it to the audit trail.
- Check it yourselfThe screen gives you a command like:
solana confirm -v <SIGNATURE> --url https://api.devnet.solana.com
The transaction carries a recent blockhash, which expires after a short time on Solana. If a slow multisig round ends in Blockhash not found, go back and build again (Troubleshooting).
Your token exists. Open the Console, paste the mint address and issue the first units.